Nurturing your artistic side is a journey that brings joy, relaxation, and a sense of accomplishment. Whether you’re dabbling in art as a hobby or pursuing it as a professional career, the tools you choose can significantly impact your creations. Investing in high-quality art tools can elevate your work and enhance your skills. In this article, we’ll explore the top five art tools that are worth the splurge, perfect for both beginners and seasoned artists alike.
1. Artists’ Marker
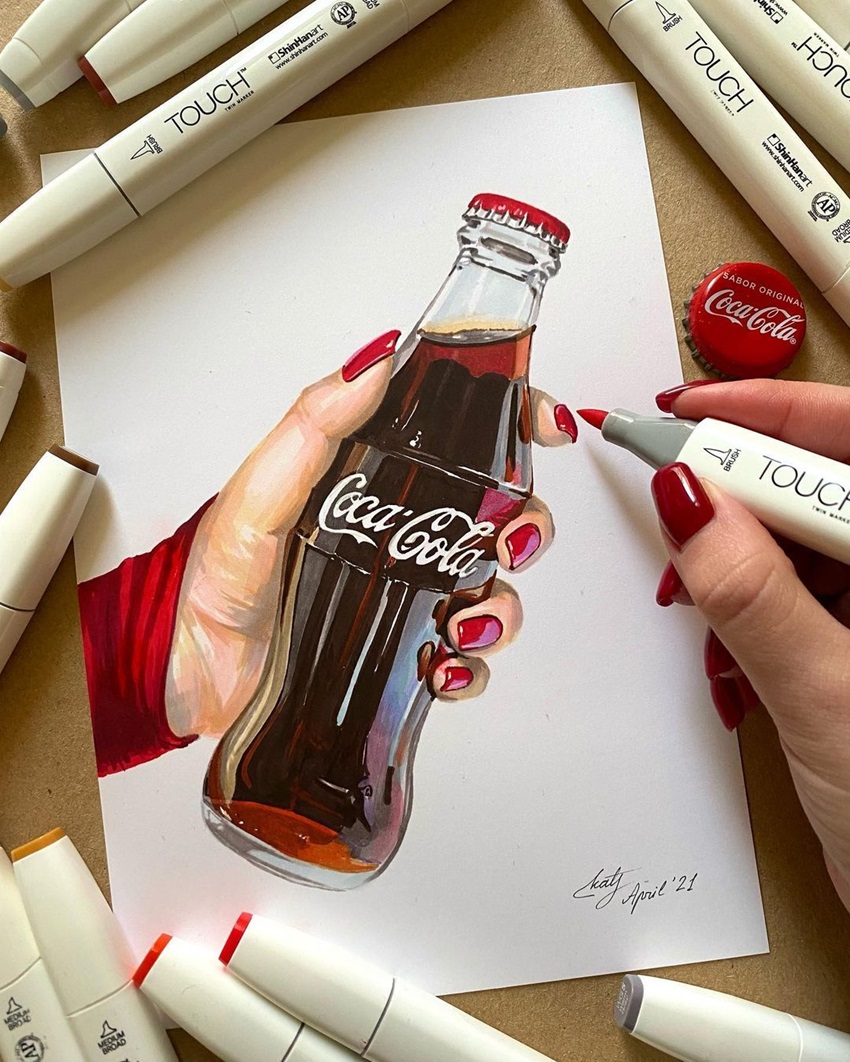
Characteristics: The premium artists’ marker products are essential tools for any artist due to their incredible versatility. They come in various types, each suited to different applications. Alcohol-based markers are known for their smooth blending capabilities and vibrant colours. Water-based markers are great for creating watercolour-like effects and are easier to clean up. Solvent-based markers offer permanent and water-resistant finishes, making them ideal for mixed media projects.
These markers are also available in an array of tip shapes, including fine, broad, and brush tips, allowing artists to achieve different line widths and styles. Fine tips are perfect for intricate details and line work, broad tips cover larger areas efficiently, and brush tips mimic the flexibility of a paintbrush, providing a dynamic range of strokes.
Benefits: This type of artists’ marker is prized for the vibrant, consistent colours that can bring any artwork to life. The high-quality ink used in these markers ensures that your artwork remains bright and resistant to fading over time. They are particularly popular among illustrators, comic artists, and graphic designers because of their ability to produce bold, eye-catching visuals.
The seamless blending ability of alcohol-based markers, in particular, allows artists to create smooth gradients and intricate colour transitions, enhancing the depth and realism of their work. The durability of these markers means they can withstand frequent use without wearing down, providing great value for their cost.
How to Use Them: To make the most of this type of markers, you need to pick the right type for your specific project. For intricate blending and layering, opt for alcohol-based markers. Begin with lighter colours and gradually build up to darker shades, using a light touch to avoid oversaturation. Water-based markers can be used directly or with a damp brush to create soft, watercolour effects. When using solvent-based markers, be mindful of their permanent nature and work steadily to avoid mistakes. For all types, start with a light sketch and build your layers slowly, allowing the ink to dry between applications to prevent bleeding.
Techniques: Mastering different techniques with art markers can significantly enhance your artwork. For creating smooth gradients, use a blending marker or a lighter shade to merge two colours seamlessly. Experiment with layering by starting with lighter colours and adding depth with darker shades.
Try using different paper types—marker paper, bristol board, or even vellum—to see how they interact with the ink. Always test your colours on a scrap piece of paper before applying them to your final work to ensure you achieve the desired effect. Practice various strokes and pressure levels to understand the full range of what your markers can do, from delicate lines to bold fills.
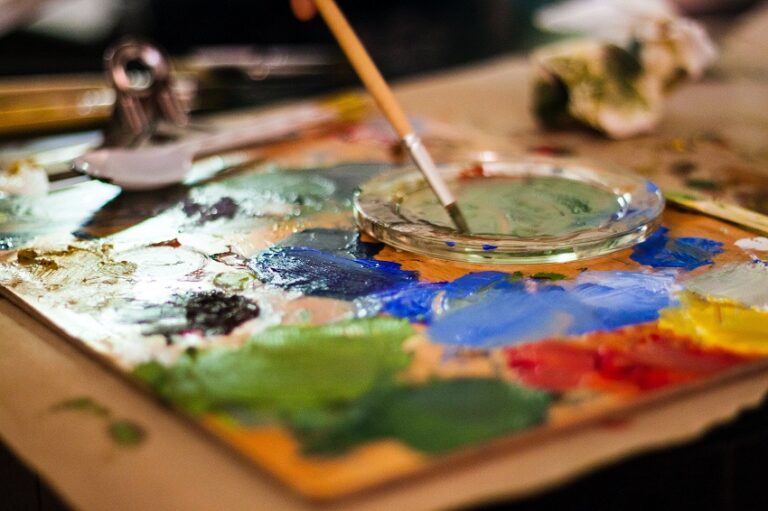
2. Professional-Grade Paints
Characteristics: High-quality paints, such as oil, acrylic, or watercolour, contain a higher pigment concentration, resulting in more vibrant colours. They often have better consistency and texture, providing smoother application and greater control.
Benefits: Investing in professional-grade paints means your artwork will have better colour retention and durability over time. These paints are less likely to crack or fade, ensuring your pieces remain as beautiful as the day they were created.
How to Use Them: Choose the type of paint based on your preferred medium. Acrylics are versatile and fast-drying, oils allow for extensive blending and layering, and watercolours offer a delicate, translucent finish. Use appropriate brushes and surfaces to get the best results.
Techniques: Mastering techniques like wet-on-wet for watercolours, impasto for acrylics, and glazing for oils can significantly enhance your work. Experiment with mixing colours to create custom shades and practice different brush strokes to add texture and depth.
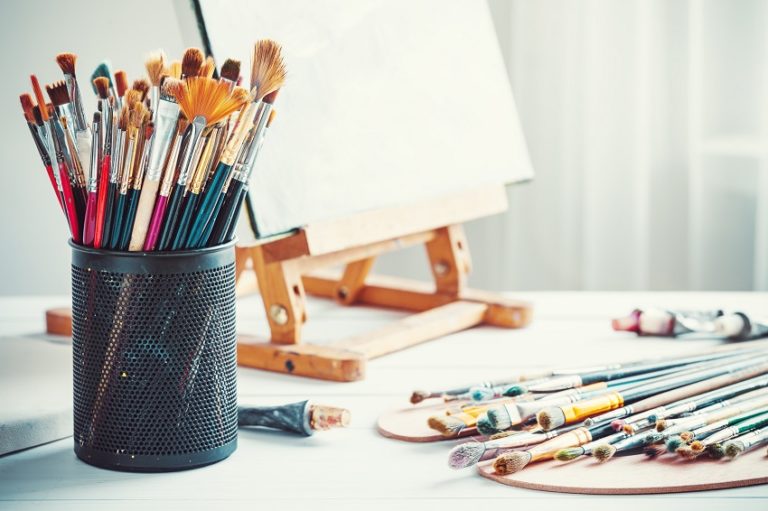
3. High-Quality Sketchbooks
Characteristics: Premium sketchbooks come with various paper types and weights, suitable for different media. They are often bound in a way that allows the book to lay flat, making it easier to work on both pages.
Benefits: A high-quality sketchbook protects your artwork from damage and provides a reliable surface for different mediums, whether you’re sketching, inking, or painting. The durability of the paper ensures your work remains intact and vivid.
How to Use Them: Select a sketchbook with paper that suits your primary medium. For markers and ink, look for bleed-proof paper. For mixed media, choose a heavier-weight paper that can handle wet and dry applications. Always carry your sketchbook to capture spontaneous inspiration.
Techniques: Use the first few pages to test how different media interact with the paper. Create swatches and practice various techniques to understand the paper’s capabilities. Keep a sketchbook dedicated to specific projects or themes to track your progress and ideas.
4. Precision Drawing Pencils
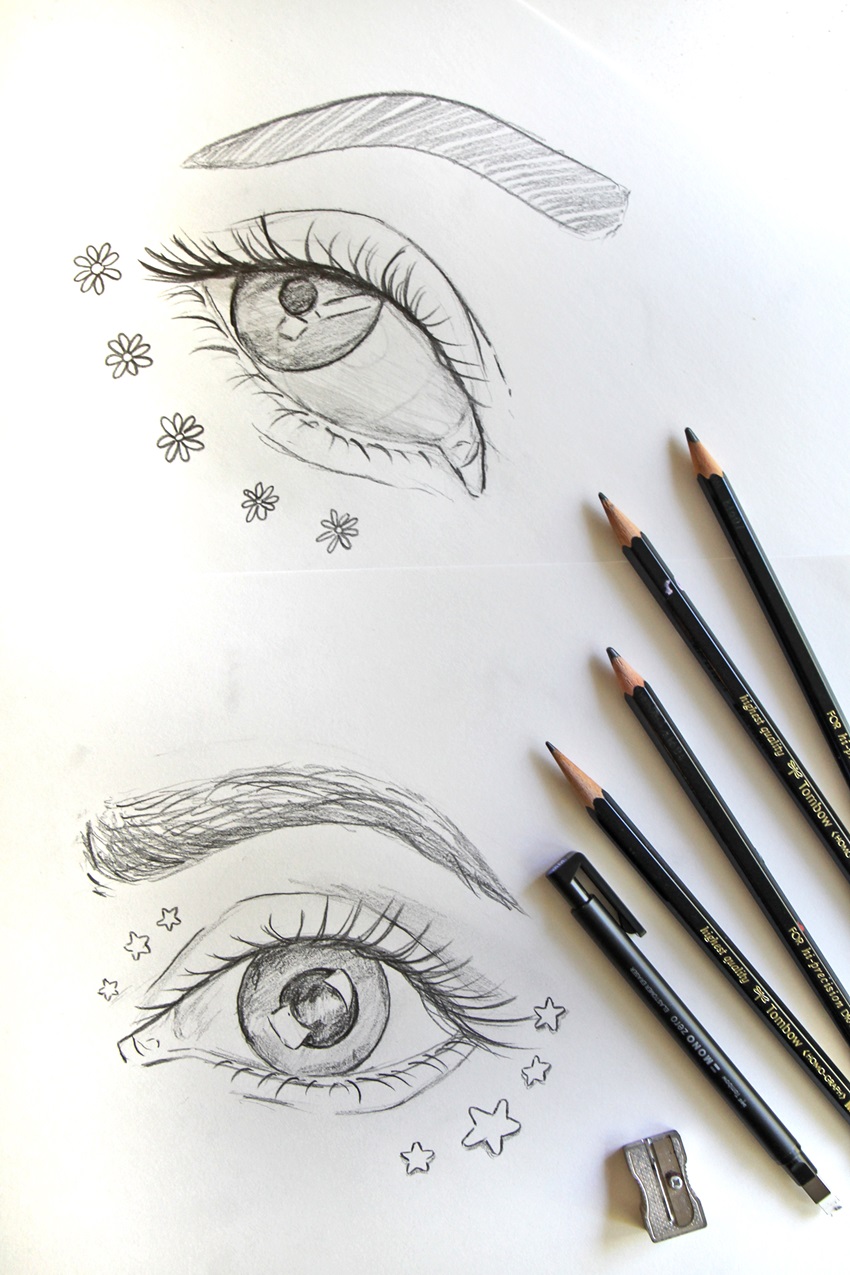
Characteristics: Precision drawing pencils come in a range of hardness levels, from soft (B) to hard (H). They offer excellent control for detailed work and shading, with consistent graphite quality that provides smooth, even lines.
Benefits: These pencils allow for precise, clean lines and detailed shading, making them ideal for technical drawings, portraits, and intricate illustrations. They are easy to blend and erase, giving you flexibility in your work.
How to Use Them: Start with a light sketch using a harder pencil and gradually build up your drawing with softer pencils for shading and depth. Use a blending stump or tissue for smooth gradients and an eraser for highlights and corrections.
Techniques: Practice cross-hatching, stippling, and blending to create texture and dimension. Experiment with different hardness levels to understand their impact on your work, and keep your pencils sharp for the best results.
5. Ergonomic Drawing Tablet
Characteristics: Modern drawing tablets offer high sensitivity, customisable buttons, and large, responsive screens that mimic the feel of traditional drawing. They are compatible with various software, providing a digital platform for creating detailed artwork.
Benefits: A high-quality drawing tablet allows for endless creativity with digital tools and features like layers, undo options, and a vast array of brushes and effects. They are perfect for digital artists, graphic designers, and illustrators looking to streamline their workflow.
How to Use Them: First set up your tablet with your preferred software. Customise the buttons and shortcuts to suit your workflow, and explore different brushes and tools available in the software.
Techniques: Practice digital painting, vector art, and photo editing to fully utilise your tablet’s capabilities. Learn to work with layers to organise your artwork and experiment with blending modes and effects to enhance your pieces.
Conclusion
Investing in high-quality art tools can make a significant difference in your creative journey. From the vibrant hues of artist’s markers to the precision of drawing pencils and the versatility of a drawing tablet, these tools help you bring your artistic visions to life. Whether you’re a beginner or a seasoned pro, choosing the right tools can elevate your work and inspire you to explore new techniques and styles. Let your creative juices flow and make art with some of the best tools on the market.
Related Posts
 Make a Statement: How Wall Decor Can Personalise Your Space
 From Tubes to Easels: Essential Painting Supplies Every Artist Needs
 The Remarkable Benefits of Metal Prints for Art and Décor
 The Essential Equipment You’ll Need to Start Making Pottery at Home
 Art Supplies: Discover the World of Different Brushes